Your air conditioner is a silent sentinel against the summer heat, but like any complex machine, it demands attention. Ignoring its subtle pleas for help can lead to a catastrophic failure on the hottest day of the year, resulting in an emergency AC repair call and a massive bill. This guide is your defense against that scenario, outlining a clear path of preventive action. We'll walk you through the specific maintenance tasks you can safely perform yourself and the unmistakable warning signs that require immediate professional intervention. The goal isn't just to fix a broken system, but to prevent the breakdown from ever happening.
Understanding the difference between a simple maintenance task and a symptom of a serious problem can save you hundreds, if not thousands, of dollars. Many homeowners wait until their unit stops blowing cold air entirely before calling for help. By then, a minor, affordable issue has often escalated into a major component failure. Proactive care is the single most effective strategy for extending your system's lifespan and ensuring consistent, efficient cooling. This article provides a practical framework for taking control of your home's comfort and financial well-being.
The Essential DIY AC Maintenance Checklist
Before you consider a professional AC repair, there are several straightforward tasks you can complete to keep your system running smoothly. These actions address the most common causes of inefficiency and strain. Performing these checks at the start of each cooling season, and periodically throughout, is your first line of defense. They require minimal tools—often just a screwdriver, a garden hose, and about an hour of your time. The payoff is substantial, potentially reducing your summer energy costs and delaying expensive service calls for years.
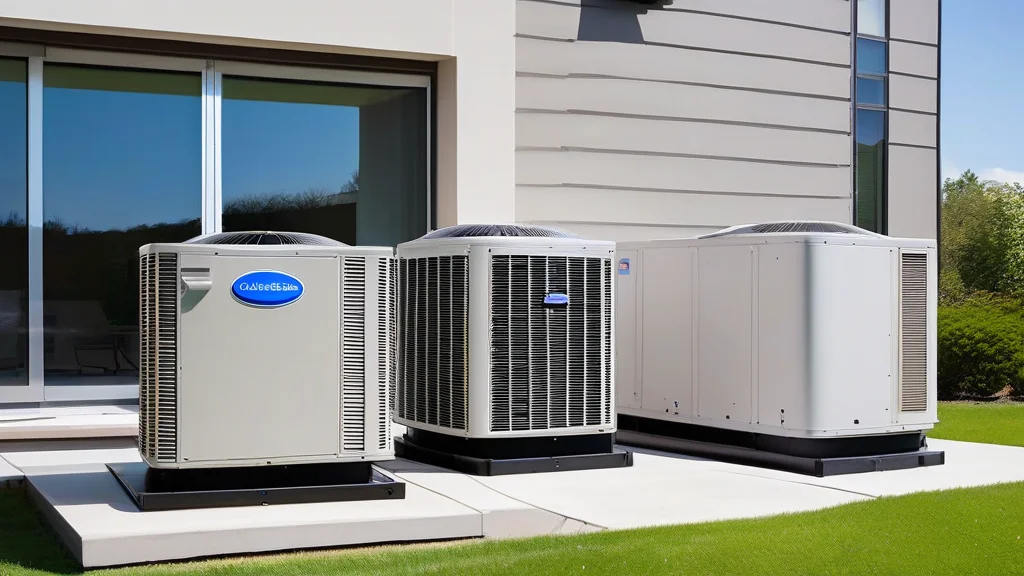
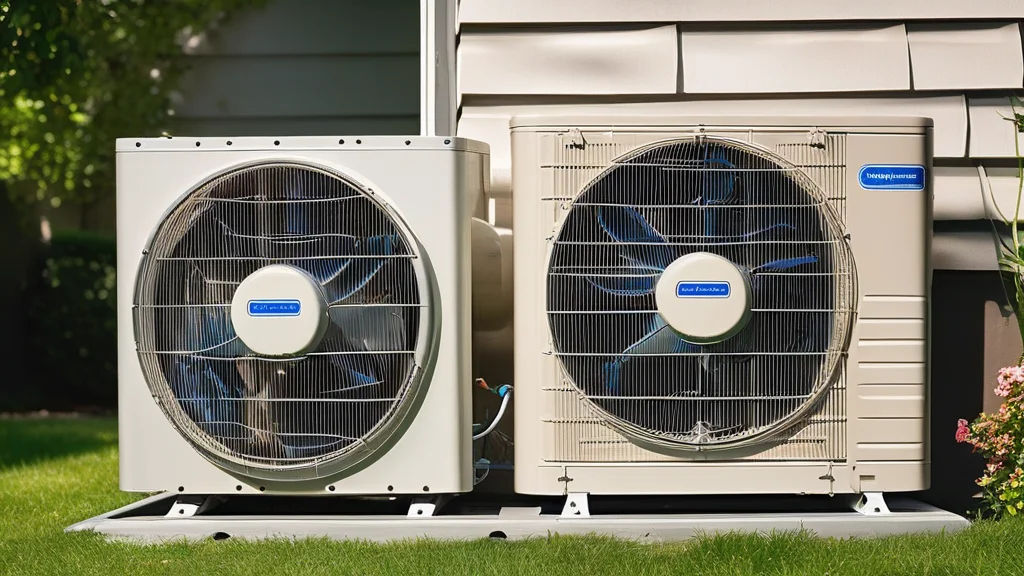
The outdoor condenser unit is the workhorse of your system and the most accessible component for homeowner maintenance. Its primary job is to expel heat, and anything blocking that process forces the system to work harder. Start by ensuring there is at least two feet of clear space on all sides of the unit. Trim back any shrubs, vines, or weeds that have encroached during the off-season. This unimpeded airflow is non-negotiable for efficient operation.
Safety First
Always turn off the power to your air conditioner at the main electrical panel or the dedicated disconnect switch near the outdoor unit before performing any maintenance. This prevents accidental injury from the fan or electrical components.
Next, inspect and clean the condenser coil fins. These thin aluminum fins surround the coil and can easily become clogged with dirt, pollen, and debris. You can gently clean them with a soft brush or a vacuum cleaner with a brush attachment. For a deeper clean, use a garden hose on a gentle spray setting, spraying from the inside out to push debris away from the fins. Be careful not to bend the fins, as this restricts airflow.
- Clear the Area and Clean the Condenser
Turn off power. Remove all debris like leaves and grass clippings from the unit's top and sides. Gently hose down the condenser coil fins to wash away dirt. Straighten any bent fins with a fin comb.
- Replace the Indoor Air Filter
Locate your filter (in the return air duct or at the air handler). Check it monthly during peak season. A clogged filter is the number one cause of reduced airflow, freezing coils, and system failure.
- Check and Clean Condensate Drain Line
Find the white PVC pipe coming from your indoor air handler. Pour a cup of distilled vinegar or bleach down the drain to prevent algae and mold clogs that can cause water damage.
- Inspect Insulation on Refrigerant Lines
The larger copper pipe (suction line) running from the outdoor unit to your house should be covered with foam insulation. Replace any missing or degraded sections to improve efficiency.
Inside your home, the air filter is arguably the most important maintenance item under your control. A dirty filter doesn't just reduce air quality; it acts like a chokehold on your system. Restricted airflow causes the evaporator coil to freeze, strains the blower motor, and can lead to a complete system shutdown. For most homes, checking the filter every 30 days and replacing 1-inch filters monthly or 4-inch filters quarterly is ideal. This simple act can prevent a significant percentage of common AC repair issues.
When DIY Isn't Enough: Knowing Your Limits
It's vital to understand where your responsibilities end and a technician's begins. The tasks above are about cleanliness and accessibility. Anything involving electricity, refrigerant, or internal mechanical components is strictly for licensed professionals. Attempting to fix electrical connections or charge refrigerant yourself is dangerous, illegal under EPA regulations for refrigerant handling, and will void your system's warranty. Your role is to be an observant steward; their role is to be the skilled surgeon when needed.
Consistently replacing your air filter and keeping the outdoor unit clean can prevent over 70% of common service calls. These are the highest-impact, lowest-effort tasks any homeowner can perform.
Critical Signs You Need Professional AC Repair
Even with perfect maintenance, components wear out. Recognizing the early warning signs of failure can mean the difference between a $150 service call and a $2,000 compressor replacement. Your air conditioner communicates problems through sound, temperature, and performance. Learning this language is your second line of defense. When you notice any of the following symptoms, it's time to stop troubleshooting and start calling for professional AC repair estimates.
The most obvious sign is a lack of cooling, but the specifics matter. Is the air coming from your vents not cold, or is there no airflow at all? If the fan is running but the air is warm, you could have a refrigerant leak, a failing compressor, or a frozen evaporator coil. If there's no airflow, the issue could be with the blower motor, a bad capacitor, or a tripped safety switch. Don't let the problem "marinate" for days; prolonged operation in a failed state can cause secondary damage to other expensive components.
Immediate Shutoff Required
If you hear loud grinding, screeching, or banging noises, or if you see smoke or smell burning from the unit, turn the system off at the thermostat and the circuit breaker immediately. These indicate mechanical seizure or electrical failure, and continued operation risks fire or total destruction of the compressor.
Unusual sounds are clear distress signals. A healthy AC system operates with a relatively quiet hum and the sound of rushing air. Specific noises point to specific problems:
- Screeching or squealing — Often indicates a failing fan motor or blower motor bearings that need lubrication or replacement.
- Grinding or rattling — Suggests a loose or broken component, like a fan blade hitting its casing or debris in the condenser fan.
- Hissing or bubbling — This is a classic sign of a refrigerant leak, which requires immediate professional attention as it affects cooling and can damage the compressor.
- Clicking at startup — A single click is normal. Rapid, repeated clicking often points to a failing relay or control board issue.
Other sensory clues are just as important. Persistent musty odors when the AC runs usually signal mold or mildew growth in the ductwork or on the evaporator coil, requiring cleaning. A sweet, chemical smell could point to a refrigerant leak. If you see an unusual amount of water pooling around the indoor air handler, your condensate drain line is almost certainly clogged—a fix that prevents water damage but should be handled by a pro to ensure proper drainage and treatment against biological growth.
Benefits of Early Detection
- Lower Repair Costs — Fixing a small refrigerant leak is far cheaper than replacing a burned-out compressor.
- Prevents Secondary Damage — A failing capacitor can kill a compressor if not addressed quickly.
- Maintains Efficiency — Catching issues early keeps your energy bills from creeping up unexpectedly.
Cost of Ignoring Signs
- Catastrophic Failure — A total breakdown on the hottest day, requiring emergency service premiums.
- Voided Warranty — Most manufacturers require professional maintenance; neglect can invalidate coverage.
- Higher Energy Bills — A struggling system can use 30-50% more electricity to provide the same cooling.
How to Find a Trustworthy AC Repair Service
When the signs point to a necessary AC repair, your next decision—choosing the right contractor—is critical. The HVAC industry, unfortunately, has its share of bad actors who use scare tactics, overcharge, or recommend unnecessary replacements. A trustworthy technician is worth their weight in gold. Your selection process should focus on verification, transparency, and reputation. This is where a service like HomeProMatcher excels, as it pre-screens contractors for licensing, insurance, and local reputation, connecting you directly to vetted professionals without the endless search.
Always start with verification. A legitimate HVAC company must hold a current state contractor's license and carry both liability insurance and worker's compensation coverage. Don't just take their word for it; ask for the license number and verify it online with your state's licensing board. Insurance protects you if something goes wrong on your property. Any company that hesitates to provide this information should be immediately removed from your list.
What to Look for in a Quality HVAC Company
A top-tier AC repair service will offer transparent, upfront pricing (either flat-rate or detailed estimates), have technicians who are NATE-certified (North American Technician Excellence), provide a clear warranty on both parts and labor, and maintain a strong, verifiable presence on third-party review sites—not just testimonials on their own website.
Reviews and references are your window into a company's real-world performance. Look beyond the overall star rating on platforms like Google, BBB, or Angi. Read the detailed reviews, especially the 3-star ones, which often provide the most balanced insight. Pay attention to how the company responds to negative feedback—a professional, solution-oriented response is a good sign. Ask the company for references from recent jobs similar to yours. A reputable firm will gladly provide them.
Get at least three detailed written estimates for any non-emergency repair. The estimates should diagnose the problem, list the specific parts to be replaced (including brand/model numbers if possible), detail labor costs, and state the warranty terms. This allows for an apples-to-apples comparison and prevents surprise charges.
Finally, trust your gut during the initial interaction. Was the person who answered the phone professional and helpful? Did the scheduler ask pertinent questions about your system? Is the technician who arrives on time, in a marked vehicle, and wearing a uniform? Do they take the time to explain the problem to you in understandable terms and show you what's wrong? These cues of professionalism often correlate with the quality of the AC repair work you'll receive.
Understanding AC Repair Costs and Getting Value
The cost of an AC repair can vary wildly, from under $100 for a simple capacitor replacement to over $1,500 for a compressor or coil repair. Understanding what drives these costs helps you evaluate estimates and avoid overpaying. The final price is typically a combination of parts, labor, diagnostic fees, and any emergency or after-hours premiums. There is no universal "standard" price, but there are standard ranges you should know.
The most significant cost factors are the part needing replacement and the labor intensity of the job. Common repairs like replacing a contactor, capacitor, or thermostat are generally on the lower end. Major component replacements—like the compressor, evaporator coil, or condenser coil—are expensive due to both the part cost and the skilled labor required, which often involves recovering and recharging refrigerant. The age and accessibility of your unit also play a role; a system crammed into a tight attic space will take longer to service than one in an open basement.
Be wary of the diagnostic fee. Most reputable companies charge one, typically between $50 and $150, which is usually applied to the cost of the repair if you hire them. This fee pays for the technician's expertise and time to correctly identify the problem. Avoid companies that offer "free diagnostics," as they often bake that cost into inflated repair prices or use it as a bait-and-switch tactic. A transparent company will explain the diagnostic fee upfront.
"The cheapest repair is rarely the best value. A lowball quote often means cut corners, used parts, or a technician who will 'patch' a problem instead of fixing it correctly, leading to a callback in a few months. Pay for quality diagnosis and quality parts."
When facing a major repair, especially on a system over 10 years old, you must consider the repair vs. replace equation. A good rule of thumb is the "5,000 Rule": Multiply the age of your unit by the repair cost. If the result is over $5,000, replacement is often more economical. For example, a $1,200 repair on a 12-year-old unit (12 x 1,200 = 14,400) far exceeds the threshold, suggesting investing in a new, efficient system is smarter. A trustworthy AC repair company will help you run this analysis, not just push for the expensive repair.
Preventing Future Breakdowns and Long-Term Care
The ultimate goal is to move from reactive AC repair to proactive system stewardship. After addressing any immediate issues, implementing a long-term care plan is how you secure reliable cooling and financial predictability for years to come. This plan hinges on two pillars: professional preventative maintenance and informed system operation. Think of it as an insurance policy that pays dividends in comfort, lower bills, and peace of mind.
Scheduling an annual professional tune-up is non-negotiable. While you handle the external cleanliness and filter changes, a certified technician performs the intricate internal checks you cannot. This service, typically costing between $75 and $200, includes measuring refrigerant levels, checking electrical connections for tightness and wear, testing system controls and safety switches, cleaning the evaporator coil, and verifying optimal system operation. Most breakdowns are caught during these visits when they are still minor, inexpensive fixes.
Great News
Many manufacturers require proof of annual professional maintenance to keep the equipment warranty valid. A single tune-up per year protects your thousand-dollar investment and ensures you're covered if a major component fails prematurely.
Your daily habits also impact system longevity. Avoid the temptation to turn your thermostat way down when you come home to a hot house. This doesn't cool your home any faster; it just makes the system run non-stop at maximum capacity, causing undue strain. Instead, use a programmable or smart thermostat to gradually lower the temperature before you arrive. Keep blinds or curtains closed on sunny windows to reduce the heat load. Ensure all supply and return vents inside your home are open and unobstructed by furniture or rugs to maintain balanced airflow.
For those seeking the ultimate in convenience and assurance in finding care for their system, platforms like HomeProMatcher simplify the entire process. Instead of scouring the internet, checking licenses, and reading dozens of reviews, you can get matched with local, pre-vetted HVAC professionals. It connects you directly to a qualified technician for maintenance or repair, eliminating the guesswork and time commitment of the traditional search. This allows you to focus on implementing the preventive checklist, knowing you have a trusted resource for when professional help is needed.
Frequently Asked Questions
Once per year, ideally in the spring before the heavy cooling season begins. This gives a technician time to identify and fix any issues before you need the system daily. For older systems (10+ years), some homeowners opt for a spring and fall check-up.
Replacing a failed capacitor is one of the most frequent calls. This component helps start the compressor and fan motors, and they wear out every 5-10 years. It's a relatively quick and inexpensive fix if caught early.
It depends on the repair cost and the unit's history. A minor repair may be justified. However, a major repair like a compressor replacement on a 15-year-old unit is rarely economical. New systems are 40-60% more efficient, and the energy savings alone can help justify replacement.
Absolutely. A severely clogged filter restricts airflow across the evaporator coil, causing it to freeze into a block of ice. This leads to liquid refrigerant flooding back to the compressor, which can destroy it—a costly repair entirely preventable with a $15 filter.
First, check your thermostat settings and circuit breaker. If those are fine, it's an emergency. Call for professional AC repair. Be prepared to pay an after-hours or emergency service premium, which can add 25-50% to the standard repair cost.