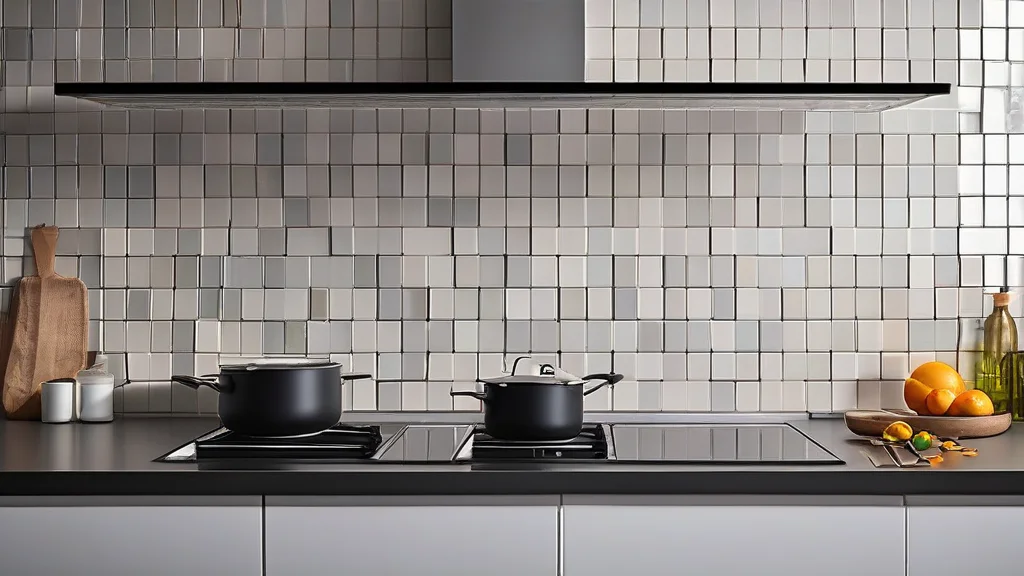
- Your Kitchen is Whispering — Are You Listening?
- Material Matchmaking: Decoding Your Kitchen’s Needs
- Backsplash Installation Costs and What Drives Them
- Hiring the Right Pro for Your Backsplash Installation
- The Backsplash Installation Process: What to Expect
- Maximizing Value and Avoiding Pitfalls
- Frequently Asked Questions
Choosing a backsplash is about more than picking a pretty tile. Your kitchen’s daily life—the splatters, the steam, the frantic pace of weeknight dinners—is sending you clear signals about what material will actually work. A successful backsplash installation starts long before the first tile is set; it begins with learning to listen to these clues. This guide will help you interpret what your space is telling you, ensuring your choice is beautiful, durable, and perfectly suited to your reality.
Every year, millions of homeowners embark on a kitchen update, and the backsplash installation is often the transformative finishing touch. Yet, many choose based on aesthetics alone, leading to frustration when a porous stone stains or a delicate glass tile cracks. The right material solves problems you might not even have articulated yet. By aligning your selection with your kitchen’s true personality, you turn a simple backsplash installation into a long-term investment in your home’s functionality and joy.
Your Kitchen is Whispering — Are You Listening?
Before you fall in love with a Pinterest image, conduct an honest audit of your kitchen’s habits. Is your stovetop a battlefield of simmering sauces and flying oil? Do you have young children who treat walls as a canvas? The functional demands of your space are the most critical data points for your backsplash installation decision. A material that thrives in a low-use, "show" kitchen will fail miserably in a busy family hub. The goal is to match the tile’s inherent properties with the environmental stresses it will face daily.
Consider the zone of your backsplash installation. The area directly behind the range requires different durability than the section above a low-traffic coffee station. This concept, known as zoning, allows for a strategic material mix. You might opt for a heat-resistant, easy-clean material like ceramic subway tile behind the stove and a more decorative, textured material elsewhere. Listening to these zonal whispers prevents a one-size-fits-all mistake and creates a smarter, more resilient design. Your lifestyle is the ultimate blueprint for a successful project.
The most successful backsplash installation isn't about the trendiest tile; it's about the material that silently handles your kitchen's mess, heat, and chaos without complaint.
Material Matchmaking: Decoding Your Kitchen’s Needs
With your kitchen’s profile in hand, you can navigate the material landscape with confidence. Each option has a personality—some are low-maintenance workhorses, while others are high-maintenance divas requiring constant care. Your job is to find the perfect match.
For the Busy, Splatter-Prone Kitchen
If your cooking involves vigorous chopping, frequent frying, and the occasional culinary explosion, your kitchen is screaming for durability and easy cleanup. Non-porous, glazed surfaces are your best friends.
- Porcelain Tile — The ultimate workhorse. It’s denser and less porous than ceramic, making it highly resistant to stains, moisture, and scratches. Modern digital printing allows for convincing looks of stone or wood without the upkeep.
- Glass Tile — Creates a stunning, luminous effect and is completely impervious to stains and bacteria. It wipes clean with a single pass. However, it can be more challenging to cut during backsplash installation, potentially raising labor costs.
- Ceramic Tile — A classic, cost-effective choice. Glazed ceramic offers excellent stain resistance and comes in endless colors and shapes. Ensure the glaze is high-quality for maximum durability in splash zones.
Important
While beautiful, unsealed natural stone like marble or travertine is a porous sponge for oil and wine stains. It's often a poor choice for directly behind a active cooking range unless you are committed to rigorous, frequent sealing.
For the High-Heat, Gourmet Kitchen
If you regularly use multiple burners, a grill pan, or a wok, heat resistance is a non-negotiable priority. Your backsplash material must withstand thermal shock without cracking or discoloring.
- Stainless Steel — The professional chef’s choice. It’s completely heat-proof, hygienic, and easy to clean. It creates a sleek, modern look but can show fingerprints and water spots.
- Certain Natural Stones — Soapstone and slate handle heat well and develop a handsome patina over time. Granite is also a solid, heat-resistant option. All require periodic sealing.
- Zellige or Handmade Tiles — Be cautious. Their irregular, unglazed surfaces can be vulnerable to heat and are difficult to clean if installed behind a high-heat source.
Backsplash Installation Costs and What Drives Them
The price tag for a backsplash installation is rarely simple. It’s a blend of material costs, labor complexity, and the unique challenges of your kitchen. On average, homeowners spend between $900 and $2,500 for a professional to install a standard backsplash in an average-sized kitchen. Understanding the cost drivers empowers you to budget intelligently and avoid sticker shock.
Labor is typically the heftiest portion of the bill, often 50-70% of the total project cost. A simple grid pattern with large, rectangular tiles is faster and cheaper to install than a complex herringbone mosaic with tiny pieces. The need for extensive wall prep—like repairing water damage, leveling uneven surfaces, or installing cement backer board—can add several hundred dollars before the first tile is even laid. Your geographic location also plays a major role; labor rates in major metropolitan areas are consistently higher.
Always budget an extra 10-15% on top of your material estimate for waste, cuts, and breakage. For complex patterns or small tiles, increase this to 15-20%. Running out of a custom-ordered tile mid-project can cause costly delays.
Hiring the Right Pro for Your Backsplash Installation
The quality of your backsplash installation hinges entirely on the skill of the installer. Crooked lines, poor grout application, and inadequate waterproofing can ruin beautiful materials. Knowing how to vet and hire a professional is your most important job as a homeowner.
- Seek Multiple, Detailed Quotes
Get at least three written estimates. A legitimate quote should break down material costs, labor charges, wall prep, waste factor, and a clear timeline. Be wary of a single round number without a detailed scope of work. This is where a service like HomeProMatcher proves invaluable, connecting you with multiple pre-screened local pros quickly, eliminating the endless search.
- Verify Credentials and Insurance
Any contractor you hire must be properly licensed for your state and carry both liability insurance and workers’ compensation. This protects you from being held liable for accidents on your property. Ask for proof and verify it independently.
- Inspect Their Portfolio and Reviews
Look at photos of their past backsplash installation work, specifically for projects with a similar material or pattern to yours. Read recent reviews on multiple platforms (Google, BBB, Houzz) and pay attention to comments about cleanliness, communication, and problem-solving.
Finding a Vetted Tile Pro
The most common homeowner regret is hiring based on price alone. A qualified tile setter brings expertise in substrate prep, waterproofing, layout, and cutting that ensures a lasting installation. Platforms that pre-screen for licenses, insurance, and customer ratings, like HomeProMatcher, filter out unreliable contractors, so you can focus on comparing quality and fit.
Signs of a Great Installer
- Detailed, written contract — Clearly outlines scope, materials, schedule, payment terms, and warranty.
- Asks diagnostic questions — Inquires about your wall type, outlet locations, and cooking habits to plan properly.
- Provides a clear warranty — Stands behind their labor (typically 1-2 years) for issues like cracking or loose tiles.
- Communicates proactively — Updates you on progress and discusses any unforeseen issues immediately.
Major Red Flags to Avoid
- Demands large cash deposit — A deposit over 10-20% or insistence on cash-only payment is a warning sign.
- No physical business address — Be cautious of contractors who only operate from a P.O. box or a cell phone.
- Pressure to skip permits — For major electrical or plumbing changes behind the backsplash, permits are often required.
- Vague or evasive answers — An inability to explain their process or provide references should end the conversation.
The Backsplash Installation Process: What to Expect
A professional backsplash installation follows a meticulous sequence. Understanding this process helps you prepare your home and sets realistic expectations for the timeline, which typically ranges from 1 to 3 days for an average kitchen.
Day one is almost always dedicated to preparation. The installer will clear the area, remove old backsplash materials, and assess the wall condition. They may need to install a cement backer board for a stable, waterproof substrate, especially in wet areas. All electrical outlets and switch plates are removed. The layout is then carefully planned and marked, often with laser levels, to ensure patterns are centered and lines are perfectly straight. This planning phase is critical; rushing it guarantees problems later.
The actual setting and grouting usually happen on the second day. Tile adhesive (thinset mortar or mastic) is applied, and tiles are set according to the layout. Spacers ensure consistent grout lines. Once the adhesive cures, grout is mixed, applied, and smoothed into the joints. The final step is cleaning the tile surface of grout haze and applying a sealant if required (essential for natural stone, unglazed tile, and grout in high-splash zones). A quality installer will leave your kitchen clean and functional, with only the need for the grout to fully cure over the next 72 hours.
Did You Know?
Grout color significantly impacts the final look. A contrasting grout color emphasizes the tile pattern and can hide stains, while a matching color creates a more seamless, uniform appearance. Discuss this key design decision with your installer beforehand.
Maximizing Value and Avoiding Pitfalls
A beautiful, long-lasting backsplash installation is the definition of value. It’s not about finding the cheapest bid, but about ensuring every dollar spent contributes to a result you’ll love for years. Strategic decisions during planning and material selection have the greatest impact on your return on investment and daily satisfaction.
One of the smartest value-maximizing moves is to time your project strategically. Contractors are often busiest in spring and early fall. Scheduling your backsplash installation for late winter or mid-summer might yield more competitive pricing and greater scheduling flexibility. Furthermore, be absolutely certain about your appliance placements and outlet needs before work begins. Relocating an outlet or gas line after tiles are set is an incredibly expensive and disruptive change order.
The difference between a good backsplash installation and a great one is in the invisible details: the perfectly flat substrate, the consistent grout joints, and the proper sealing. These are what prevent cracks, stains, and moisture damage over time.
Finally, protect your investment with proper maintenance. Use pH-neutral cleaners recommended for your specific tile and grout. Avoid abrasive pads or harsh chemicals like bleach on natural stone, as they can etch the surface. Re-seal stone and grout as recommended by your installer, usually every 1 to 3 years. This simple upkeep preserves the beauty and integrity of your backsplash, ensuring it remains a highlight of your kitchen, not a source of regret.
Your backsplash's true cost is measured over a decade, not just on installation day. Investing in the right material and a skilled professional prevents costly repairs and premature replacement, delivering superior long-term value.
Frequently Asked Questions
Frequently Asked Questions
It is technically possible but generally not recommended. It adds thickness, making outlet covers recessed and cabinet trim awkward. More importantly, it relies on the integrity of the old installation. If the old tiles are loose, the new ones will be too. The best practice is to remove the old material, ensure the wall is sound, and install on a clean, flat surface.
For a standard kitchen, plan for 1 to 3 full days of work. Simple layouts with large tiles may be completed in a day, while complex mosaics, extensive wall prep, or intricate patterns can take two to three days. Always factor in curing time for adhesive and grout, during which the area should not get wet.
It depends entirely on the material. Glazed ceramic, porcelain, and glass tiles do not require sealing. However, the grout between them is porous and benefits from sealing. Natural stone (marble, travertine, granite) and unglazed tiles (like terra cotta or some cement tiles) absolutely require a high-quality penetrating sealer applied after installation and periodically thereafter.
For the ultimate combination of durability and easy care, porcelain tile is the top contender. It’s extremely hard, nearly non-porous, stain-resistant, and easy to clean. Large-format porcelain slabs with minimal grout lines take this even further, creating a virtually seamless and impervious surface that’s ideal for busy kitchens.
Start by seeking personal referrals from friends or neighbors. Online reviews are helpful but should be cross-referenced. The most efficient method is to use a trusted matching service that pre-vets contractors. For example, you can get matched with licensed, insured, and reviewed local tile pros through HomeProMatcher with a single inquiry, saving you the time and risk of a random search.